
When potential tenants look for a new rental property, they’re likely to turn to online rental and listing sites. As such, when renting out an investment property, it’s crucial for landlords to come up with creative ways to present their rental home online.
One way to do so is to film a video tour of the rental property. If you're unsure how to begin the process, don’t worry! In this article, we’ll give you the best tips and important details to create your own virtual tours.
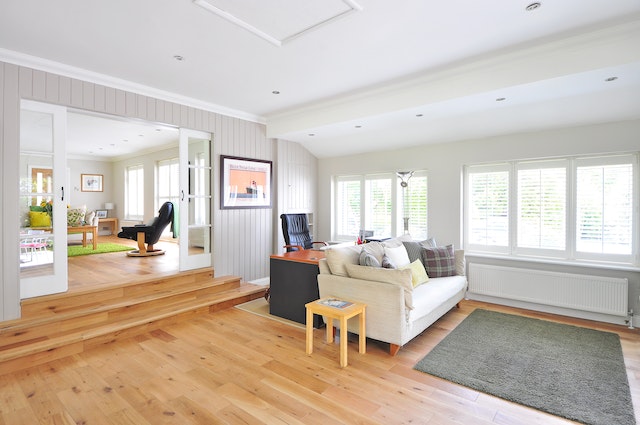
Rental Video Tours Are a Game-Changer for Property Marketing
There are a couple of benefits to making a rental video tour for potential renters. Making a virtual tour gets the viewer involved and lets them interact with the property. With a virtual tour, potential tenants can explore the space and imagine themselves living there.
Virtual tours provide a way for individuals to explore the property from the convenience of their own homes. This is an invaluable advantage that every landlord should take advantage of when advertising their properties.
How to Film a Rental Video Tour
Personalize the Video
When you begin recording new footage, aim to create an experience that closely resembles an in-person house or apartment showing. You want the viewers to feel captivated as soon as the tour starts.
When potential renters can envision themselves in the future space, they’re more inclined to submit an application.
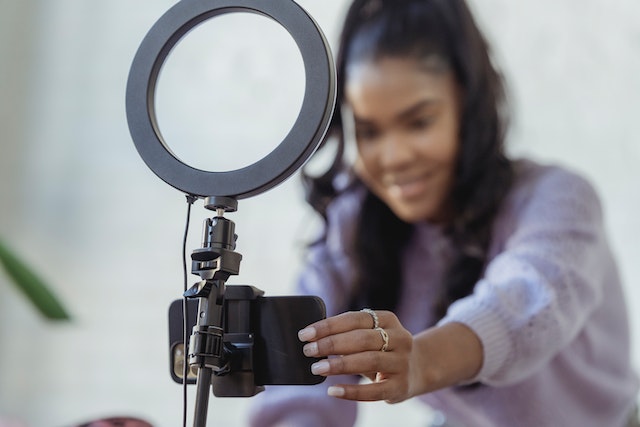
Choose the Right Software
Before you start shooting your virtual tour, it's essential to ensure you have the necessary equipment and virtual tour software. It's important to capture each room in high quality to achieve the best possible image.
Use a Professional Camera
While owning a high-end camera is not essential, it can produce exceptional videos. If you're willing to dedicate more time to your tour, investing in a camera might be a suitable choice for you.
Investing in a camera includes investing in a fisheye lens, which is beneficial for capturing wide-angled shots and panoramic images. Purchasing in a tripod is also recommended to stabilize the camera during shooting.
If you prefer a more straightforward approach, using your phone to capture your video tour is the ideal option.
Film in Landscape Mode
In order to avoid having two black vertical bars on each side of the screen when viewing a virtual tour., make sure to film your virtual tour in landscape orientation.
Aside from being visually appealing, shooting in landscape orientation allows you to capture more than vertical filming. Prospective lessees who watch the property video on widescreen devices will also have a better viewing experience.
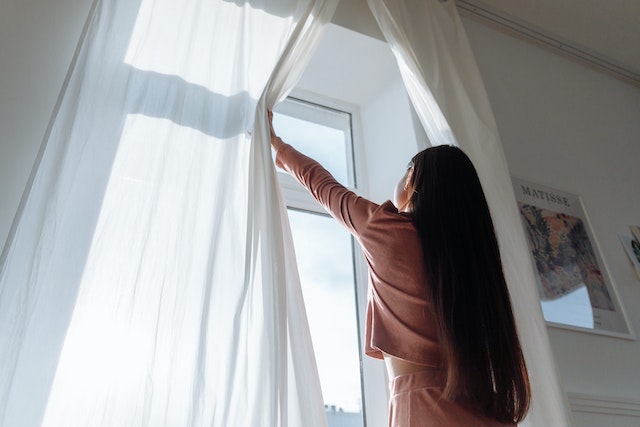
Consider Lighting
It’s always best to film the virtual tour using natural light, preferably in the late afternoon. If you film too early in the day, when the sun is brighter, strong sun rays may shine through the windows during filming and cause the video to appear overexposed or excessively bright.
In such cases, you can partially close the blinds or move to another room and return when the lighting is more favorable.
It's also important to be mindful of backlighting when taking videos. Avoid shooting directly into a light source or in front of windows. Positioning yourself with natural light behind you, rather than facing directly into it, will yield better results.
Take Advantage of the Audio
When it comes to using audio in your videos, here are some important considerations:
If you want to provide additional context or highlight specific features or renovations of your property, it's a good idea to incorporate narration into your tour.
However, to avoid dealing with unwanted background noise during the editing process, it’s recommended to mute the audio while filming. Once you've compiled your video, you can add a voiceover or music to enhance the viewing experience.
Frame Your Shots
It's important to have a clear focal point in all of the footage for the virtual tour. Don't hesitate to showcase the outstanding features of your rental property. Experiment with different angles to capture the space at its best.
It's also best to avoid using zoom features. Zooming may bring the subject closer, but it often leads to pixelation or blurriness in the image.
Maintain Steady Hands
In addition to avoiding the black bars mentioned earlier, another crucial aspect to consider is ensuring the property video is stable. Keeping your hands as steady as possible while filming is vital.
One effective technique is to position yourself against a wall or within a corner of each room. Hold your smartphone or camera close to your body and brace your arms against your torso. Then, slowly and steadily rotate your torso to capture a wide shot of the entire room, creating a panning or horizontal motion.
Investing in a tripod is also recommended to ensure consistently stable and high-quality images of your rental property.
Edit Your Video
Editing can be a daunting and time-consuming process. However, with the appropriate editing tools and software, it becomes more manageable. Even a little bit of editing on your camera footage can greatly enhance your virtual tour when showcasing it to potential renters.
Bottom Line
Virtual tours have become a permanent part of the rental industry, and if you want to attract tenants to your space, it's essential to start using them. Contact Action Properties today for more details!
Disclaimer: This blog should not be used as a substitute for legal advice from a licensed attorney in your state. Laws change, and this post might not be updated at the time of your reading. Please contact us for any questions you have in regards to this content or any other aspect of your property management needs.